

This article describes the steps to create a Kubernetes cluster that is managed by Platform9 Managed Kubernetes (PMK) on Google Cloud.
What you’ll need
Access to the inbox of a valid email address.
Google Cloud account with at least 1 active project.
For this tutorial, we will be using a project named "Platform9 Demo".
The project will need access to the Google Compute Engine API.
Access to a GNU/Linux system/shell/terminal.
Looking to dive deeper? Check out the full Imported GKE Clusters for more extensive, provider-specific information.
Installing and Configuring Local Tools
Install the Google Cloud CLI.
Configure the CLI to use your Google Cloud credentials.
Select the default project for the CLI.
Select the first option (which matches the project we created for the demo).
To make it easier to provision new compute resources, set the default zone.
Creating Virtual Machine (VM) Instance
List the public images available on the Google Compute Engine.
Based on the previous output, identify the image for
Ubuntu 18.04 LTS(which we'll use in this example), and create a VM instance with the namedemo-cluster-1.
Note: record the EXTERNAL_IP as we'll need it in a few steps.
Establish an SSH connection to the VM instance.
This command creates the necessary SSH keys, and logs you into the instance. The username is the same name you used to log into the terminal from which you’re working.
Attach VM Instance to Platform9
From your PMK Dashboard, select "My Infrastructure".
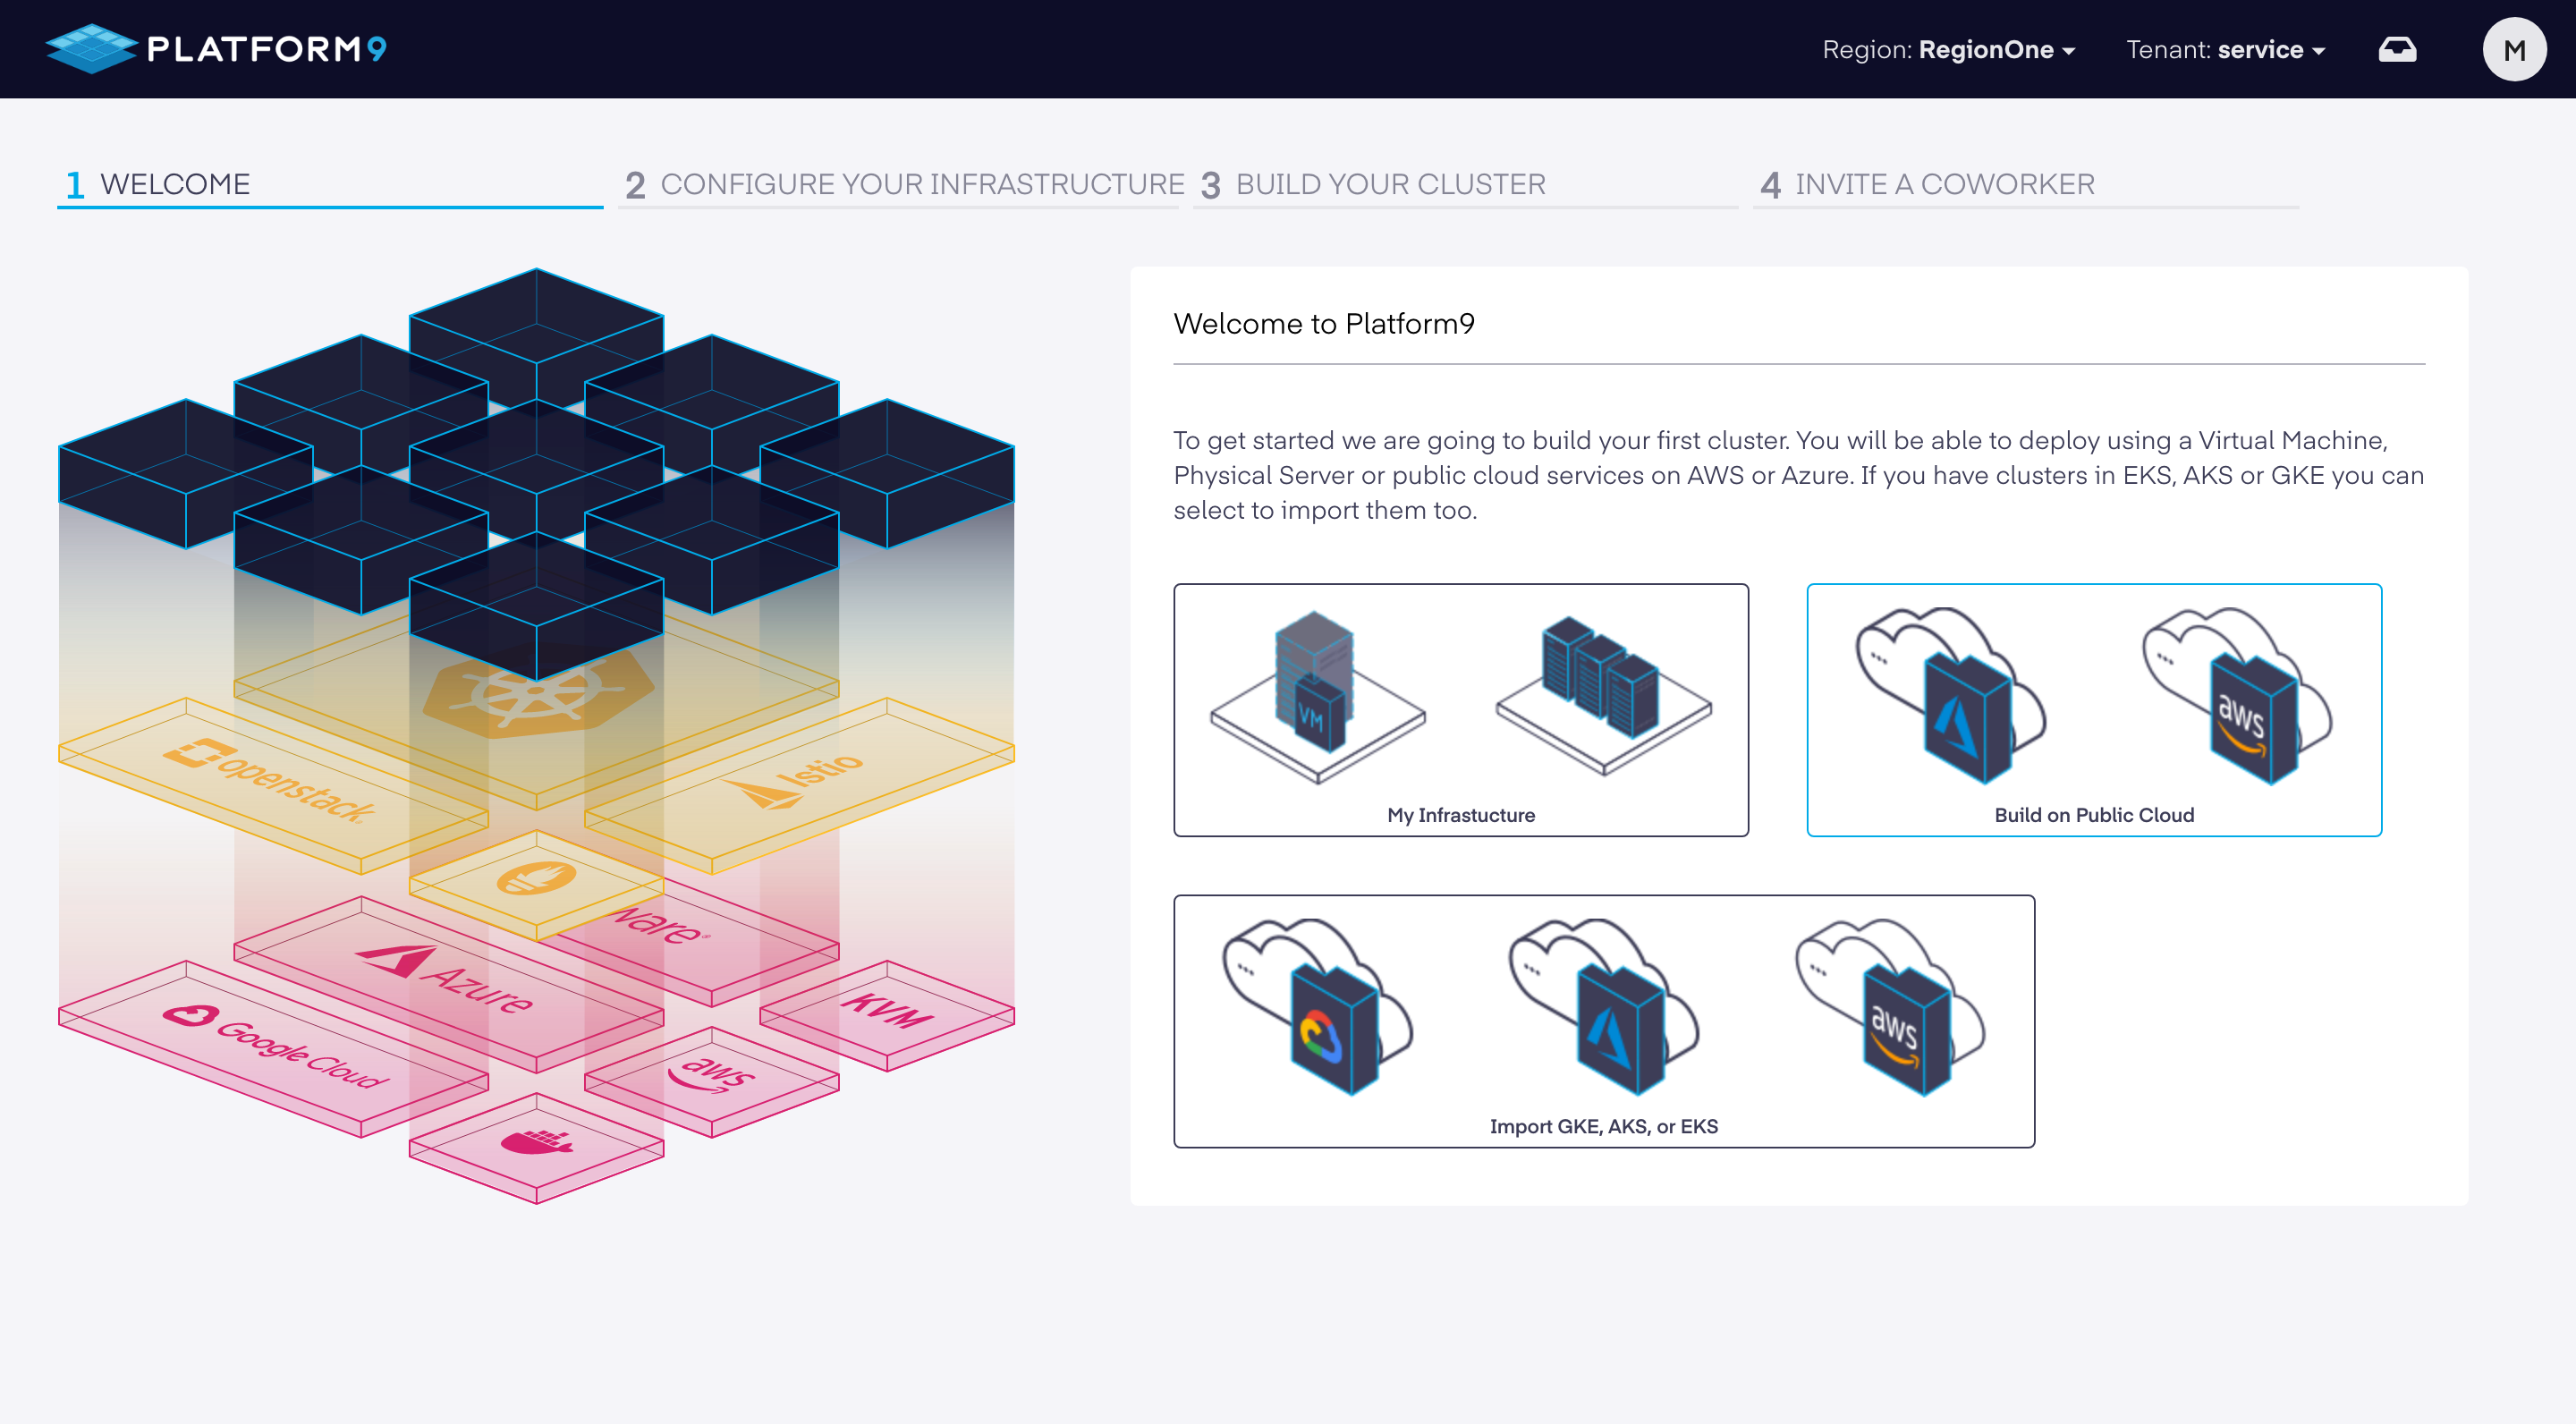
Select "Existing Virtual or Physical Infrastructure".
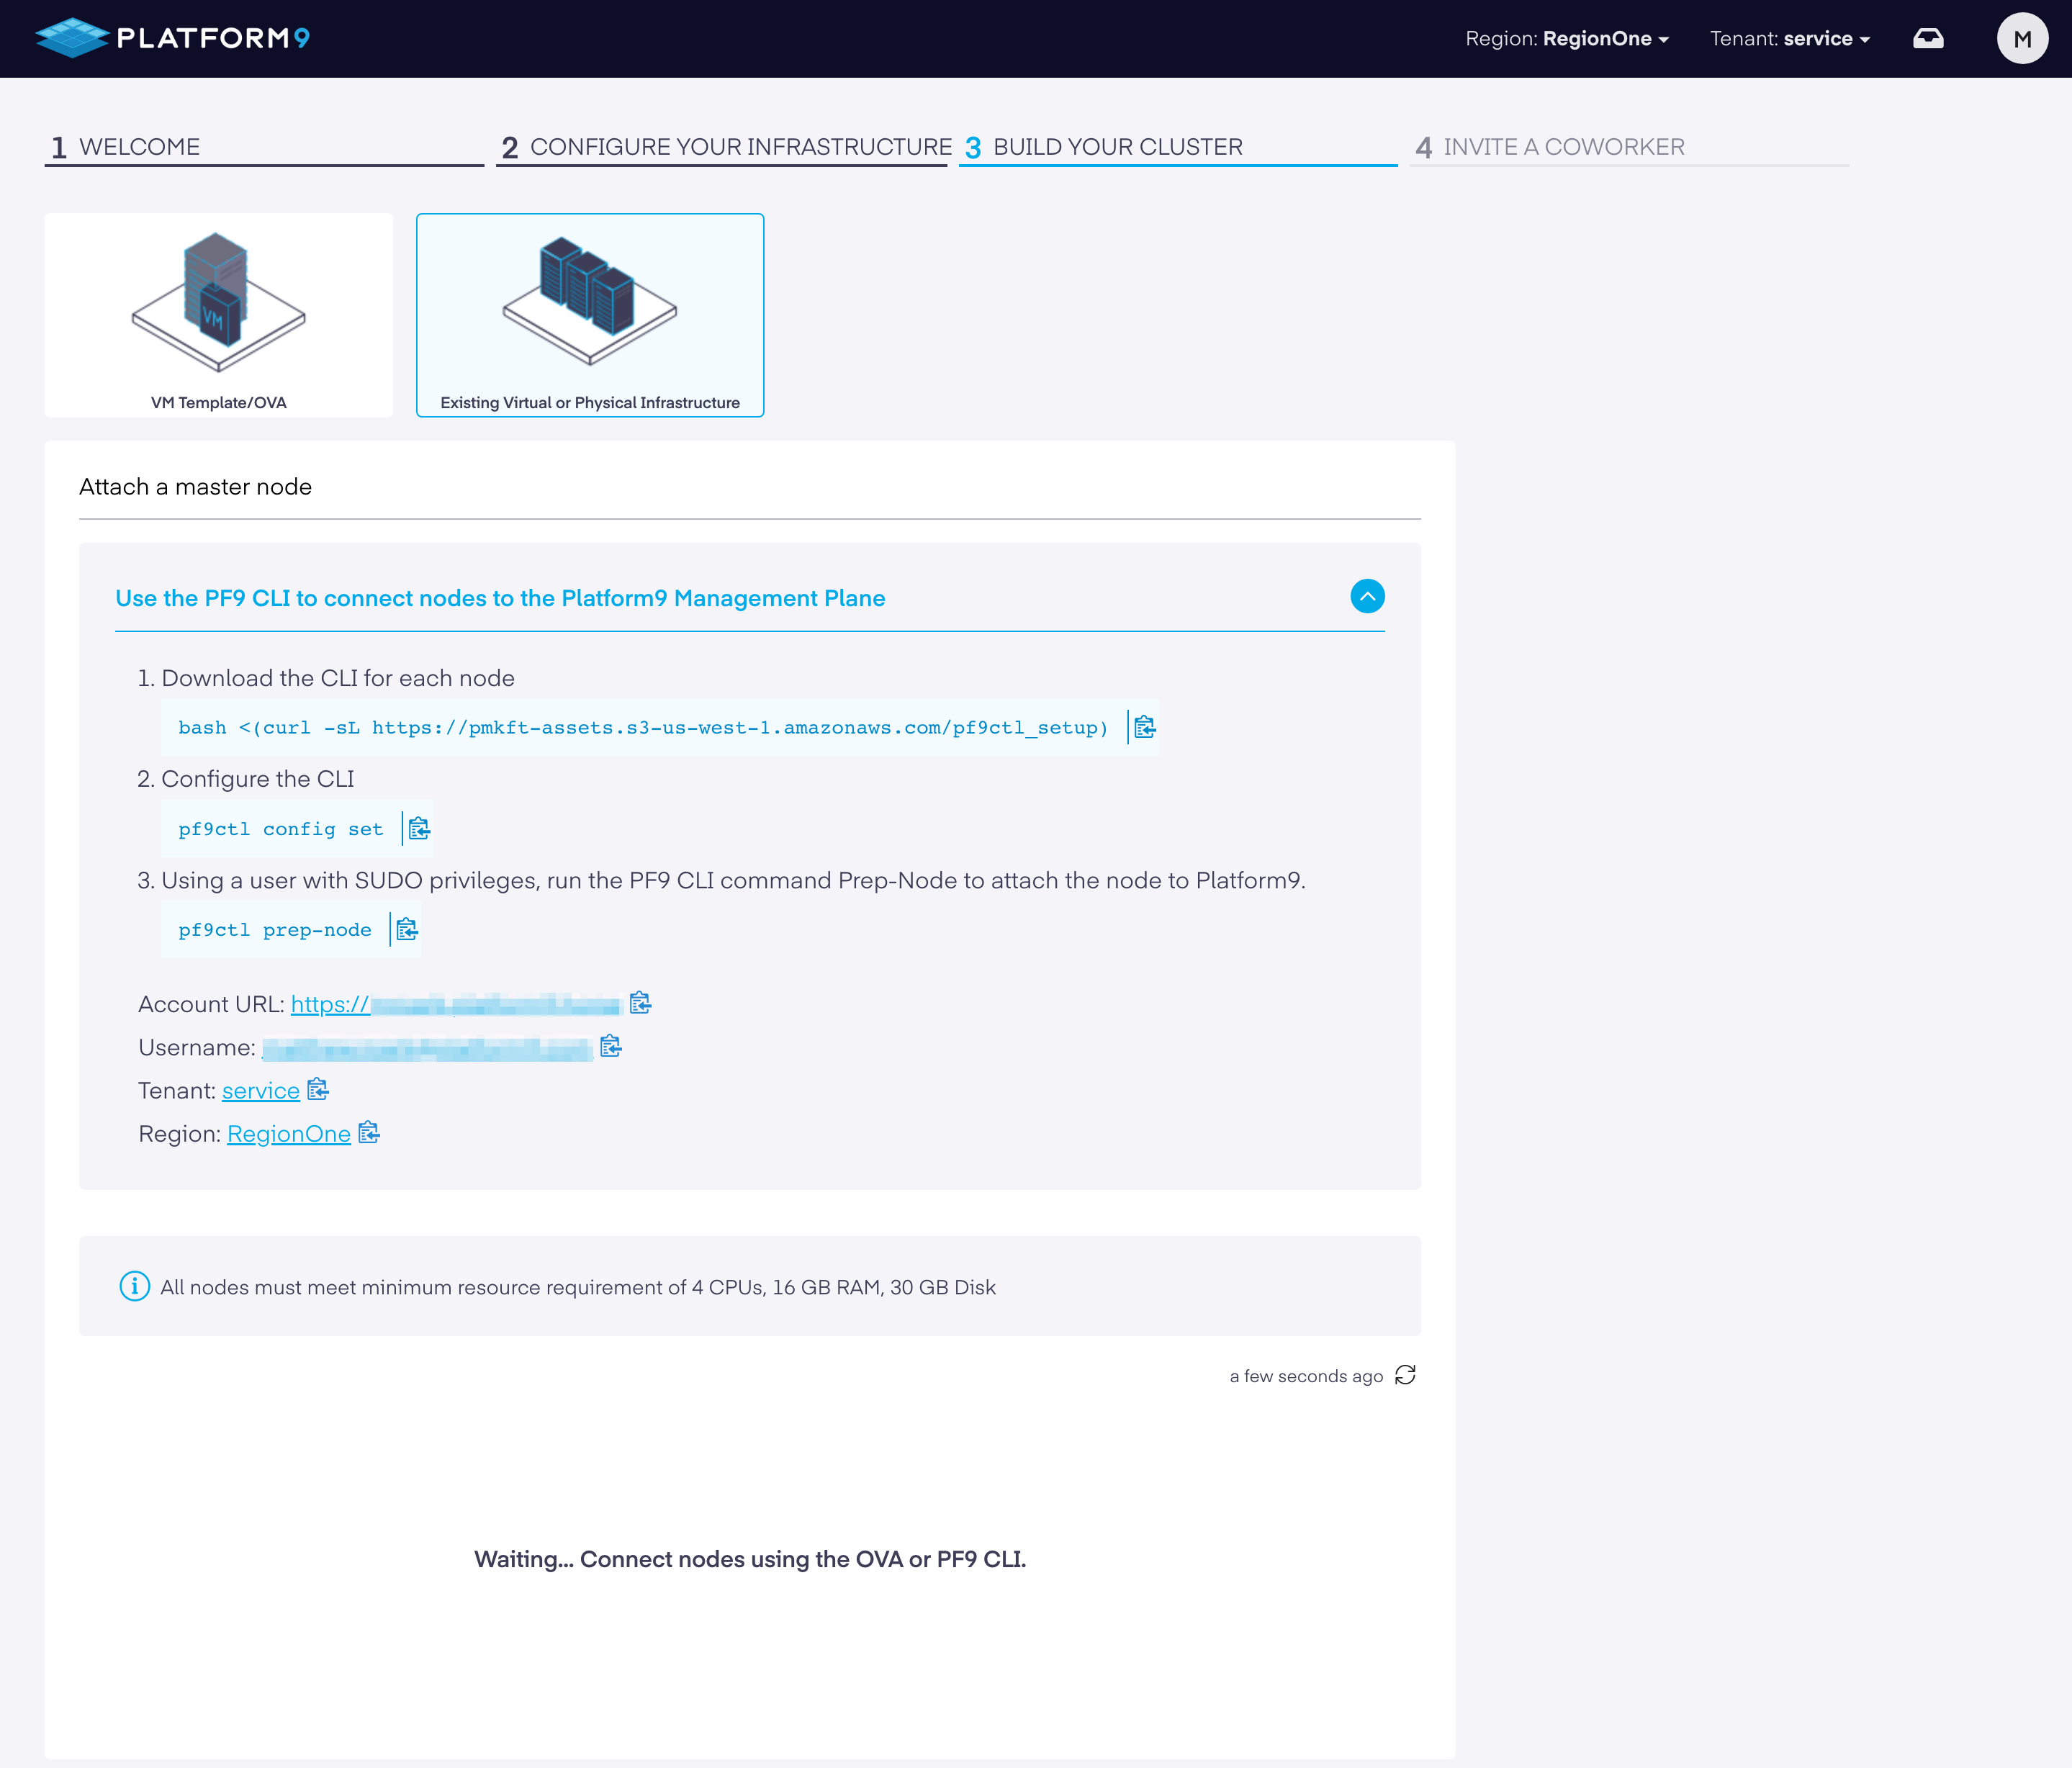
This area will give you direction about how to load our CLI on the VM instance you are SSH'd in to. You then configure the CLI to talk back to your PMK instance.
Note: when running the pf9ctl config set command, you will be prompted to provide your account credentials which were established earlier.
The pf9ctl prep-node command will install your customized PF9 agent and begin promoting the VM as a PMK node. The node will show up in the UI shortly after completion.
Debugging
If you encounter the message: Failure to prepare node, please review the pf9ctl log file for additional context.
Enterprise – Please submit a Support Request with the log attached and our team will review and work with you to onboard the node.